I am incredibly blessed to have a binder full of histories of my ancestors. It’s an amazing resource, but one I don’t often take advantage of. Unless I’m curious about a particular family member, the collection typically sits on a shelf, unused and unopened. When I wanted to teach my children about their ancestors, I knew the binder had the answers within it, but wasn’t the approachable medium I needed. It was time to get creative and make my own. I’ll show you the steps I took to make a book full of facts, memories, and photos that my family has come to treasure.
Step 1: Collect Information
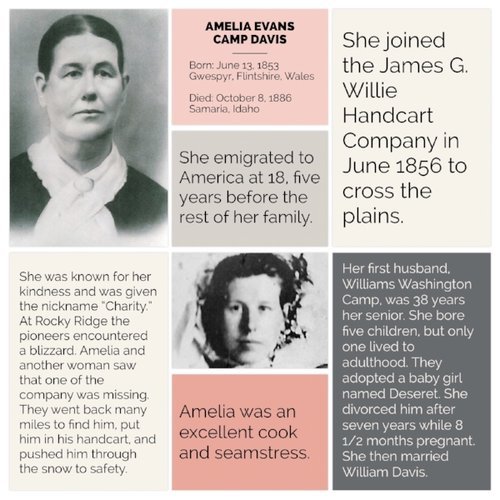
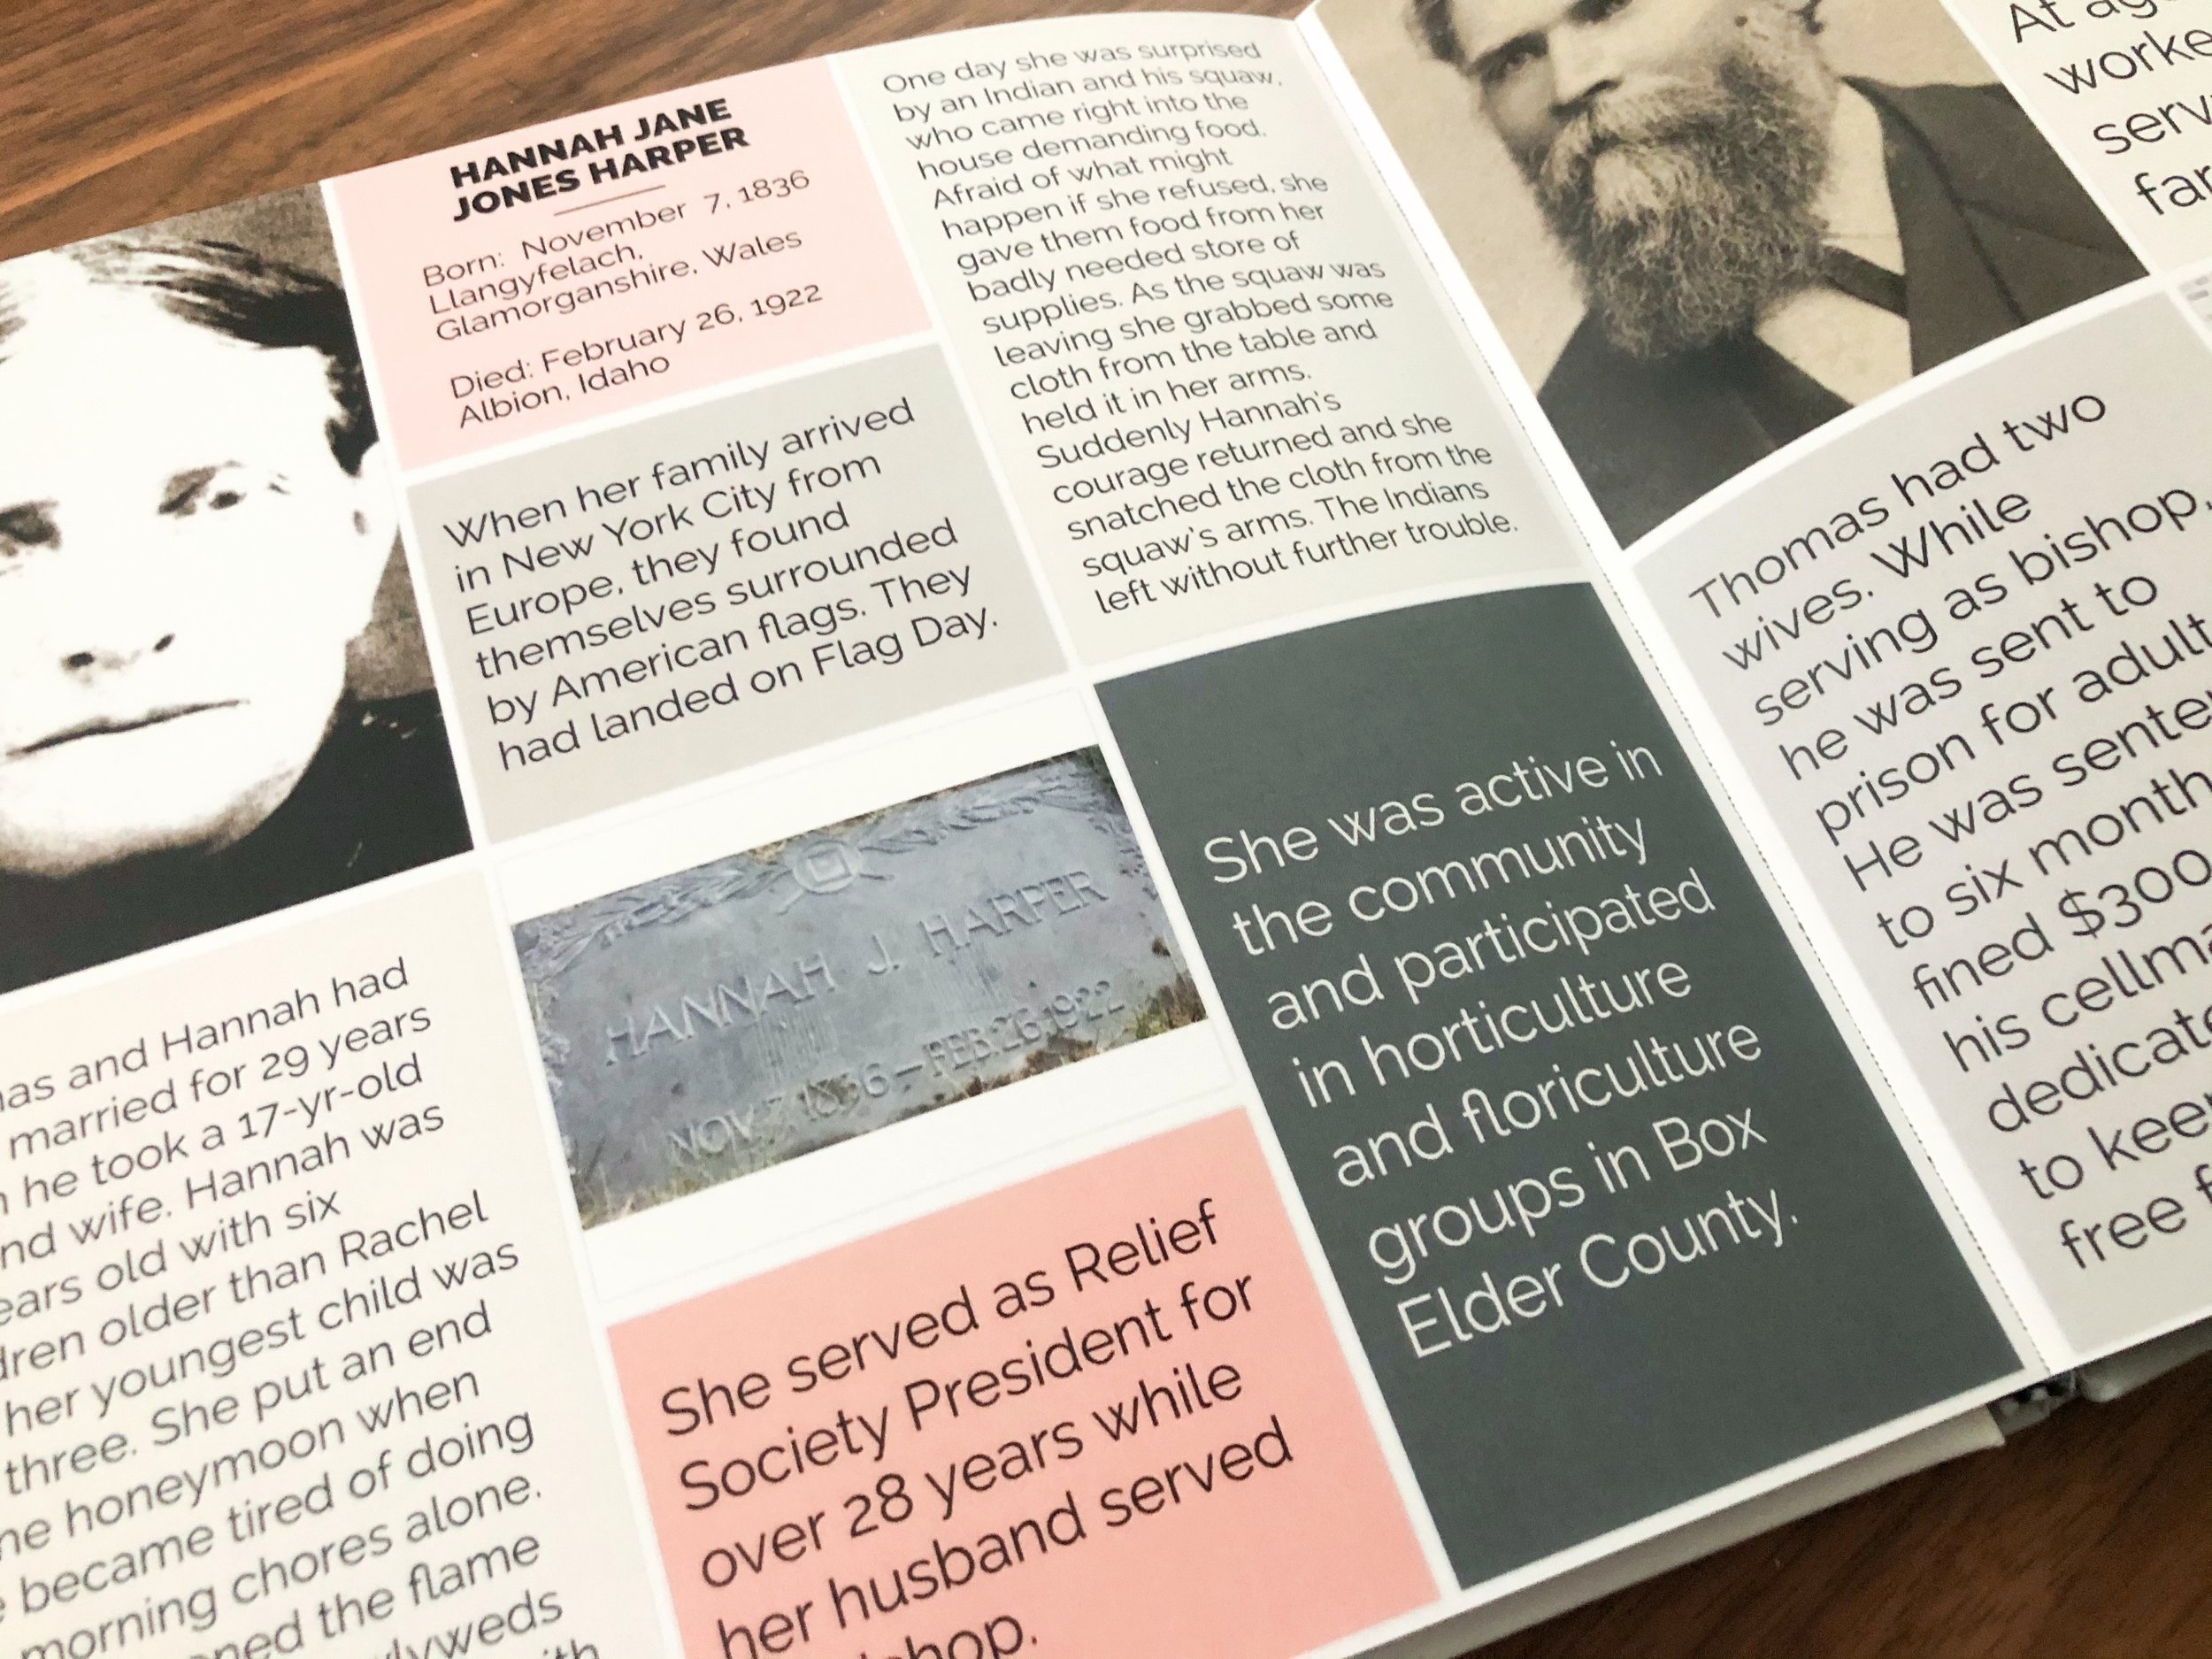
I opened a document and typed out the names of those closest to me, working backward. I started with my parents, then their parents, and so on. I included birth and death dates and locations. Next, I researched each ancestor to see how much information I could get from either my binder, or Memories in Family Search. The goal was to find five interesting tidbits on each ancestor’s life.


When I got back a few generations, I couldn’t always find stories, just facts. That’s when I had to utilize vital records to create a story of their life. For help with framing a narrative when you don’t have stories, see my post on Putting the Pieces Together.
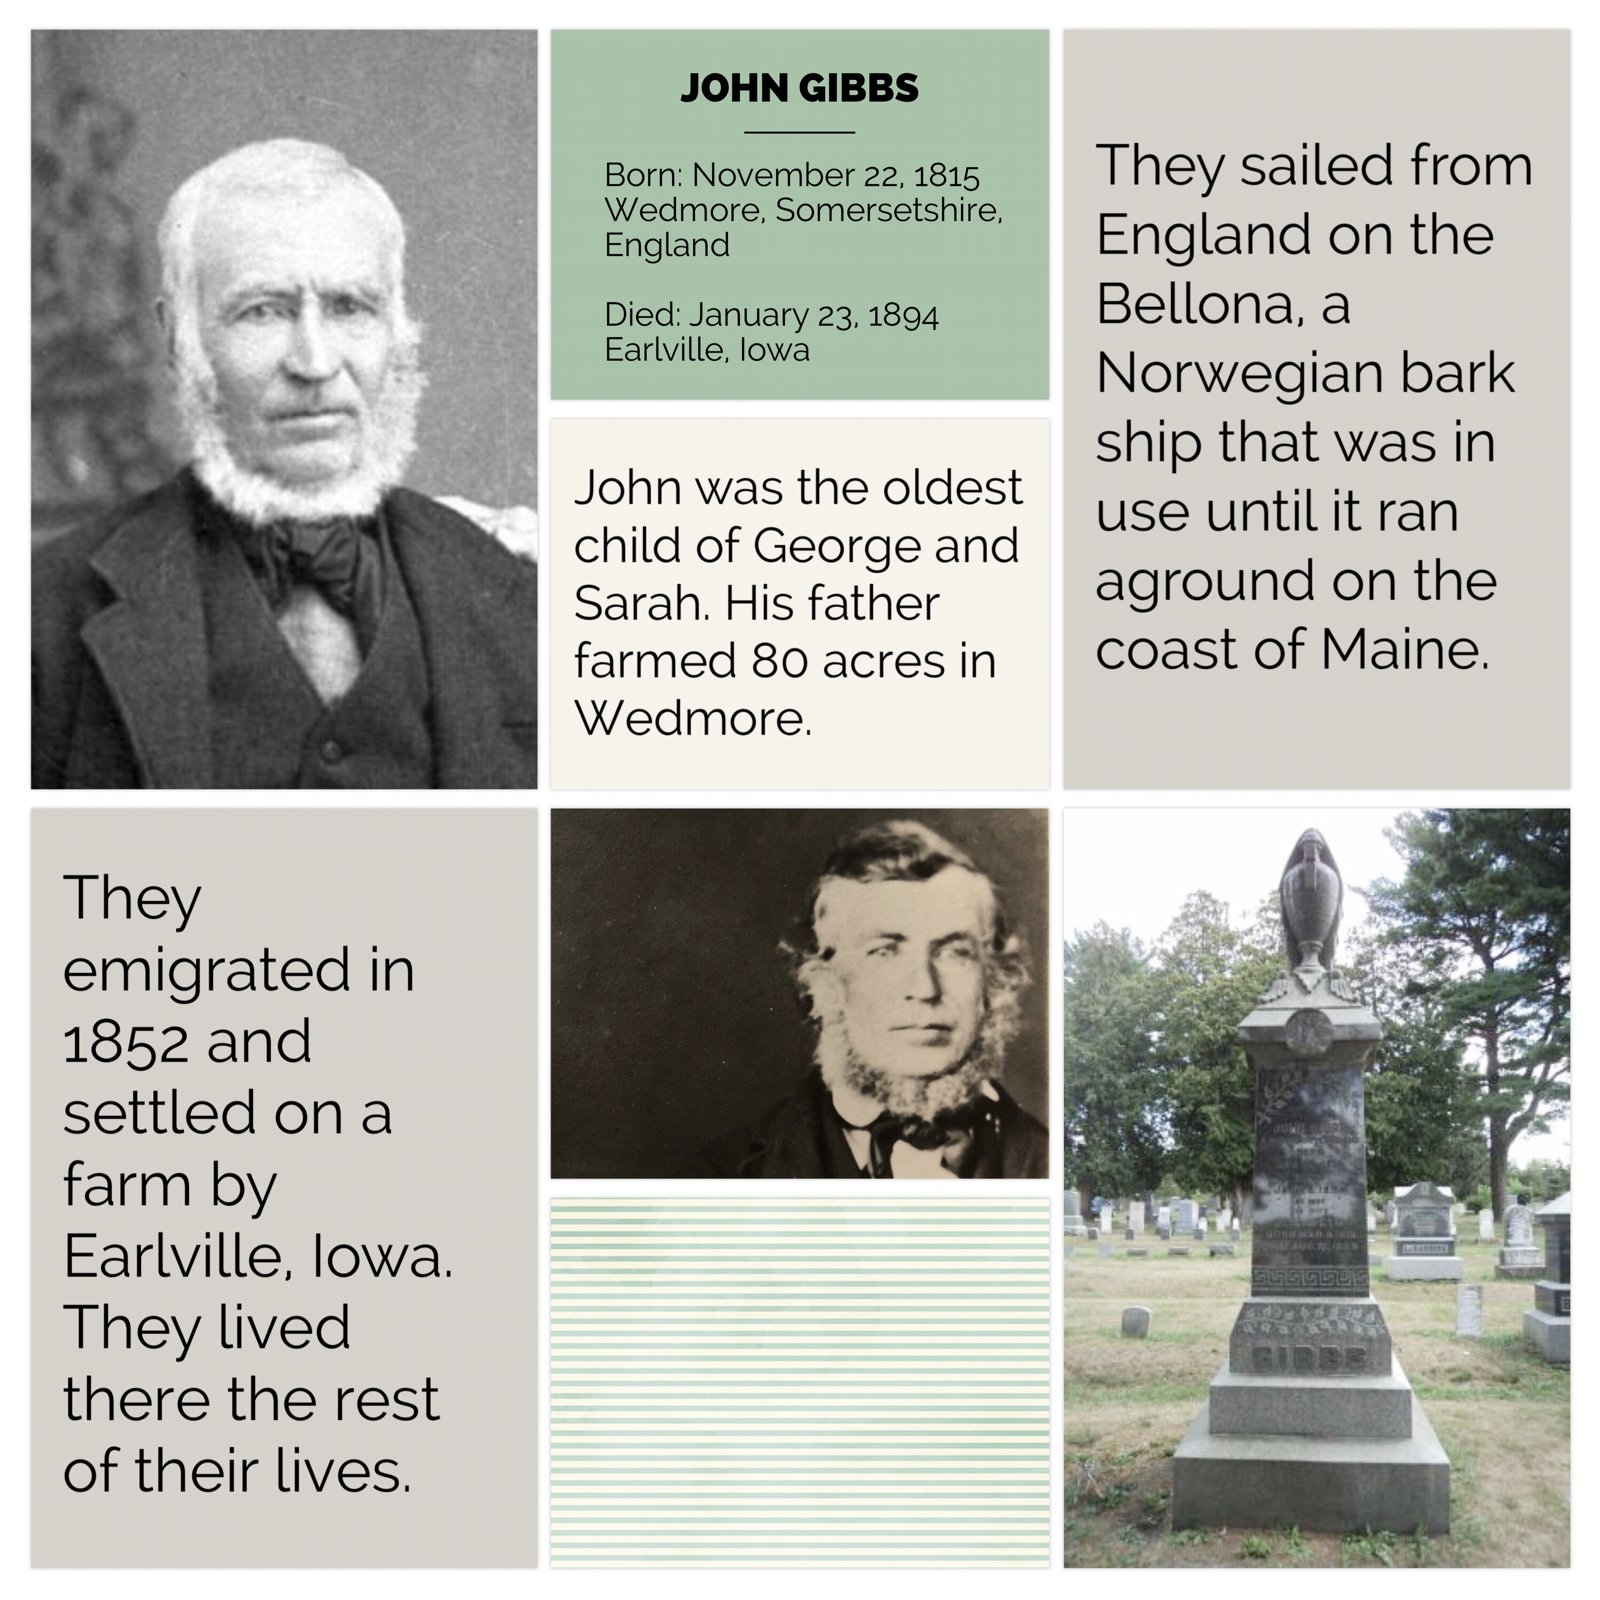
I only had census and emigration records to learn about John Gibbs.
Step 2: Collect Photos
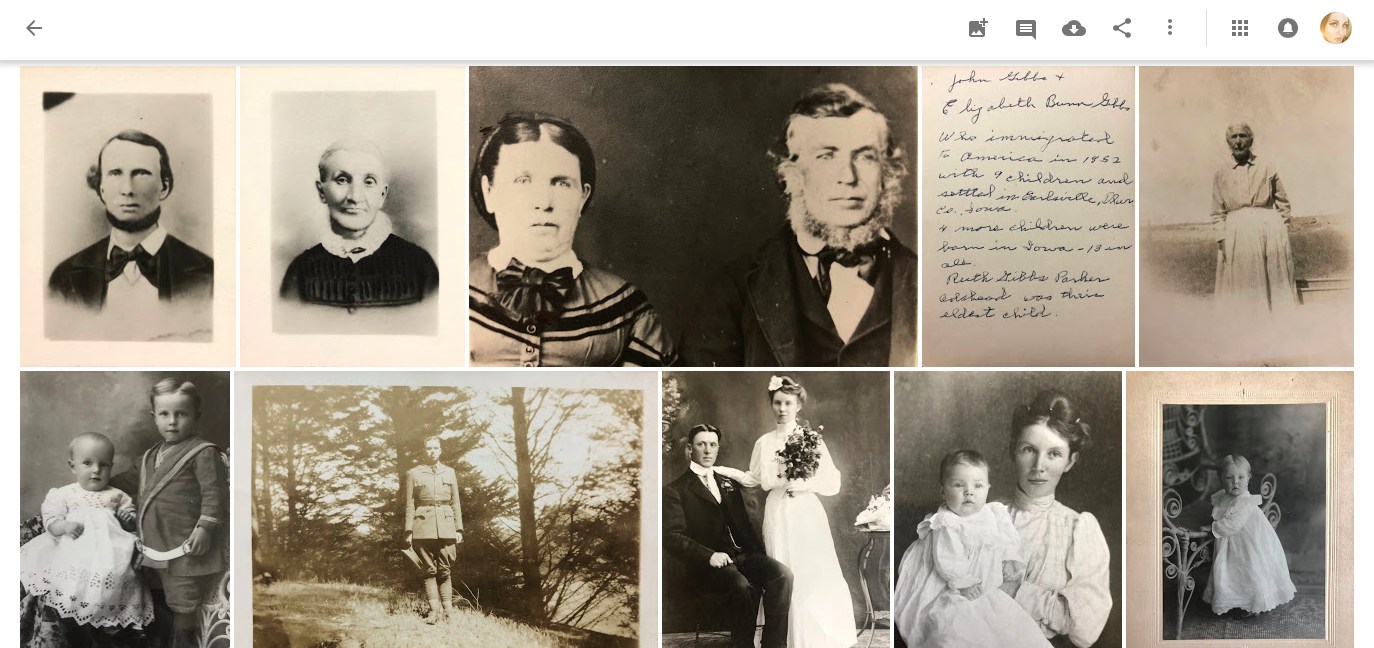
Because photos can be difficult to come by, I limited each ancestor to two images. When the photos weren’t at a high enough resolution to print, I kept them small but on a larger background using an app like Rhonna Designs.
I used Rhonna Designs to load a smaller photo onto a 4” x 6” image and saved it to my photos.
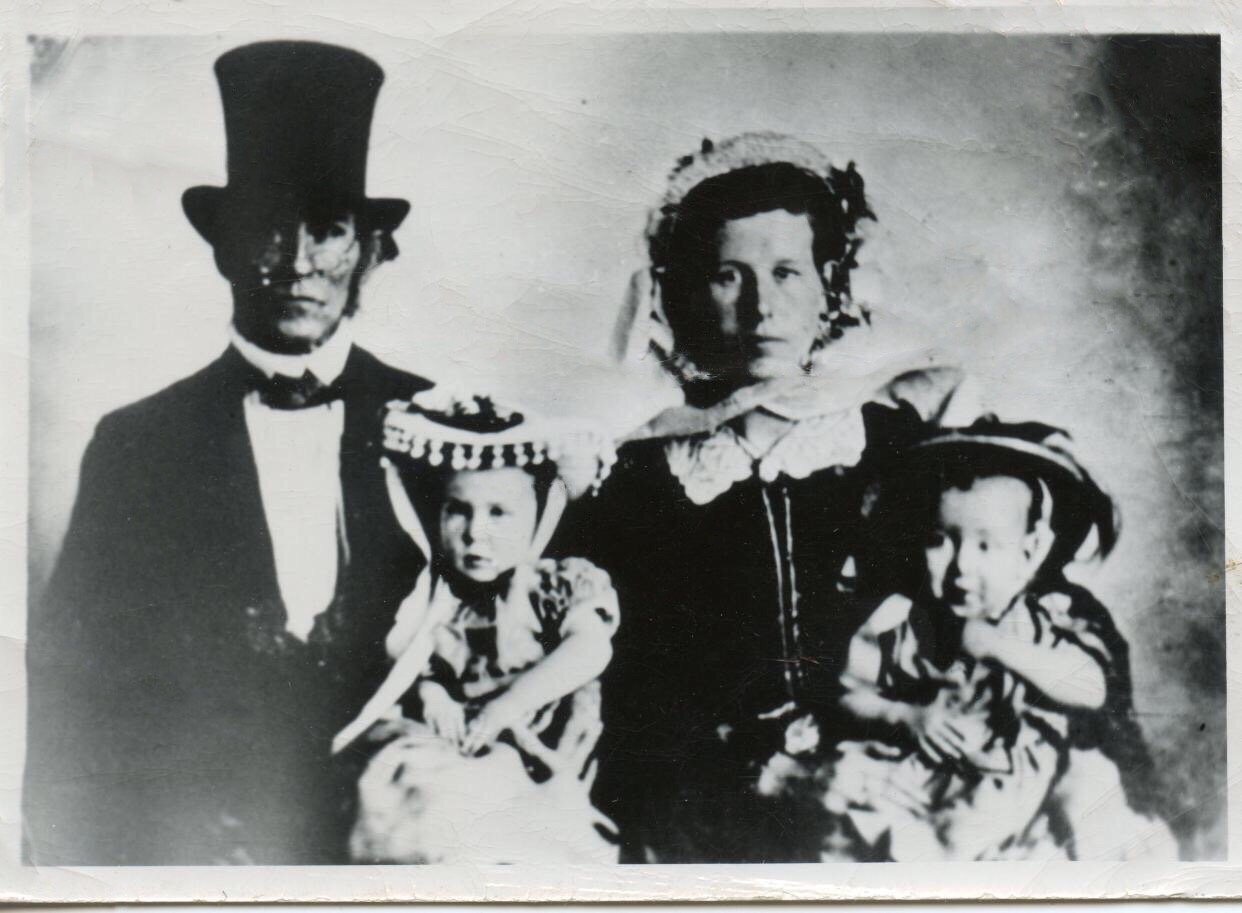
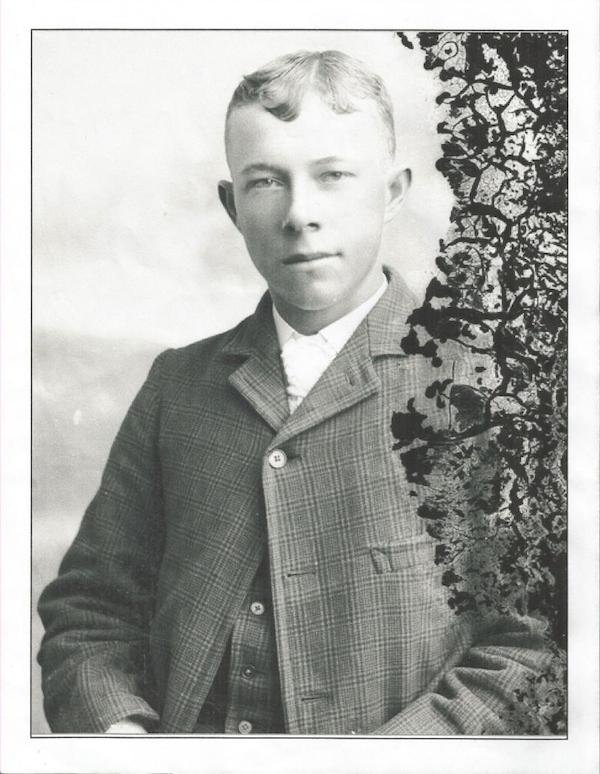
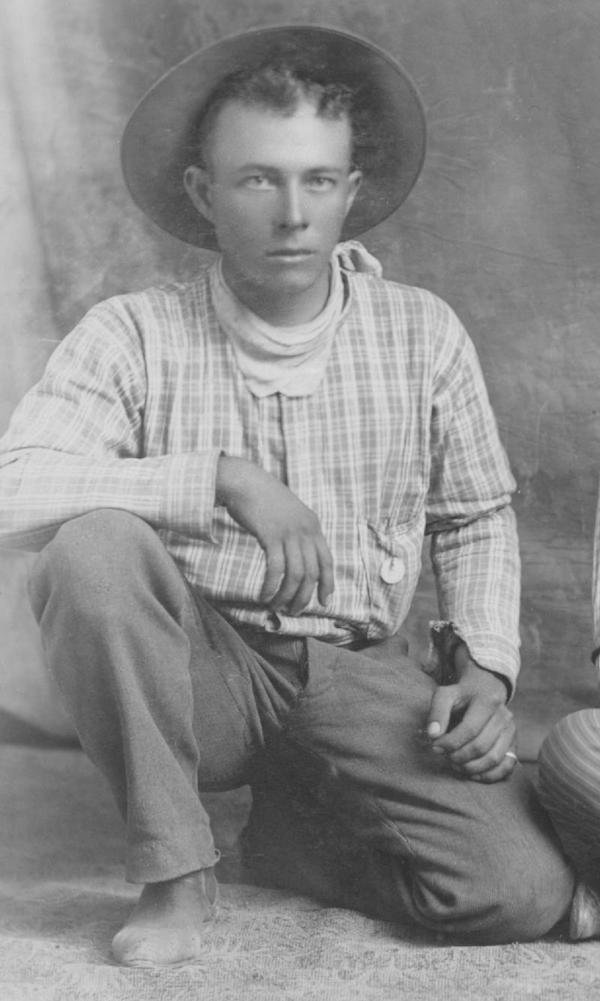
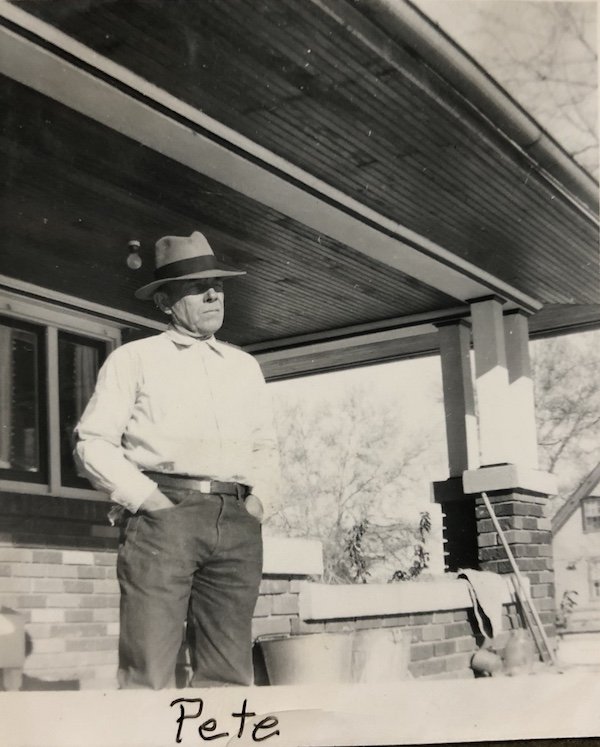
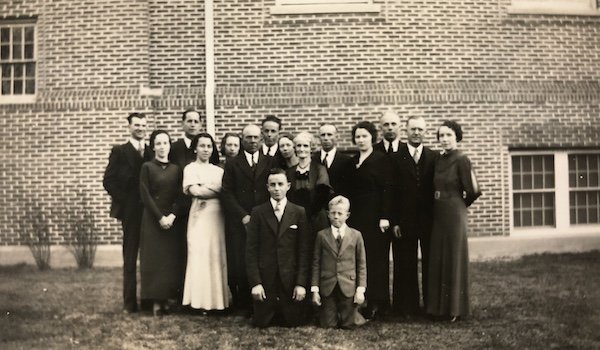
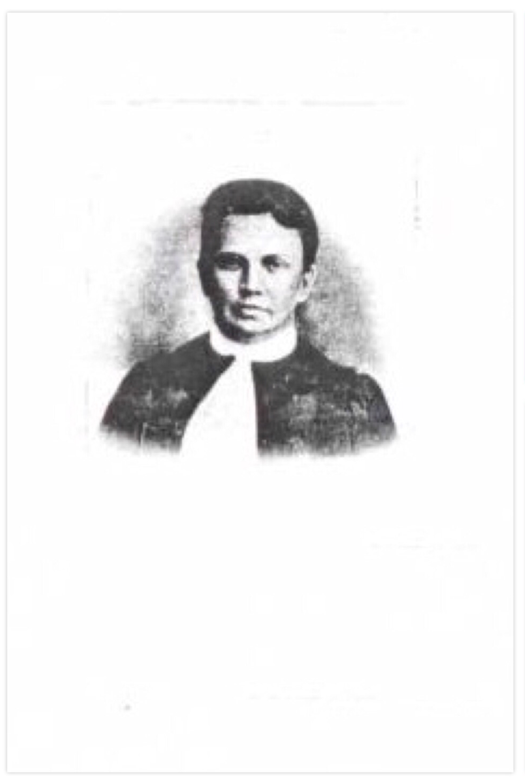
If I had multiple images to choose from, I tried to find one when they were older and one when they were younger. Below are the ones I chose for my maternal grandmother.


Step 3: Design Your Pages
Once your information and images are collected, it’s time to design them into pages. I used Becky Higgins’ Project Life. Becky has created a simple way to organize your memories and lay them out in a clean, well-designed way. You can use the digital desktop version, but you will need Photoshop Elements. Because I use my phone and tablet so much, I downloaded the app and used that version of Project Life.
Because I was going to include so many pages in this book, I simplified things and used the same layout for each ancestor, changing the color for each gender. When I was ready to input text and images, I made a copy of my layout, renamed it with my ancestor’s name, and uploaded their information.


Step 4: Print Your Book
After I completed a page for every ancestor (all 71 of them!), I decided to compile them into a book using a local (to me) company I’m very familiar with — Chatbooks. Project Life also has an ordering option through their app, I just haven’t used it before.
I used the Rhonna Designs app to design the book cover.
Chatbooks allows me to send my family a link to the completed project so they can order a copy for themselves. So simple!
I hope you take advantage of the histories you have to create something your own family will treasure.